Description
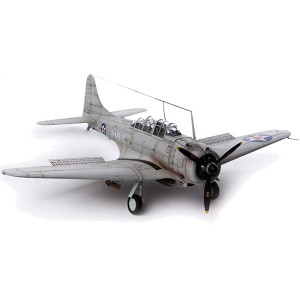
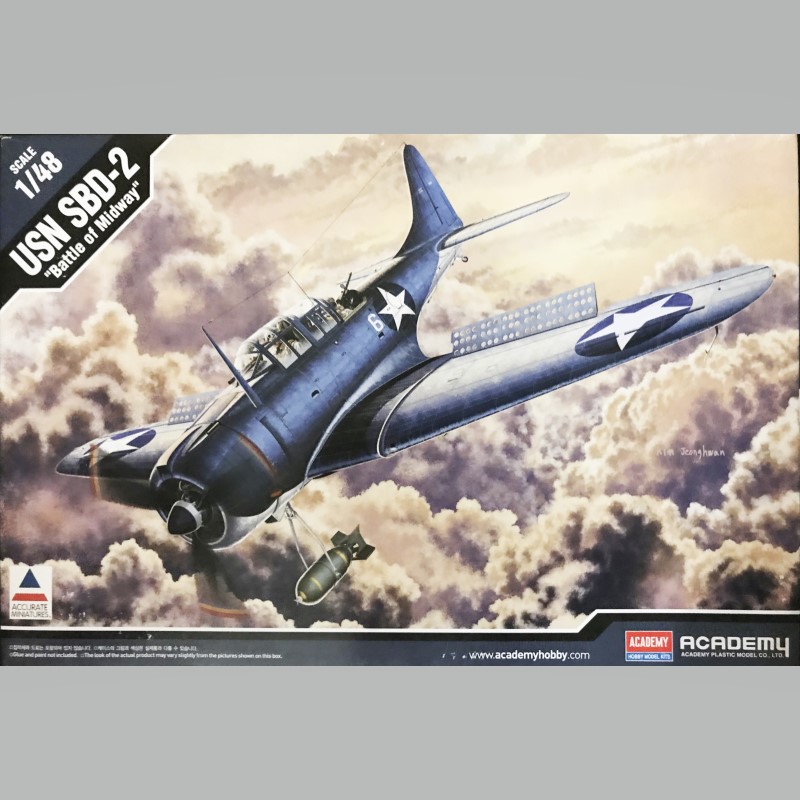
The Douglas SBD Dauntless was developed as a scout and bomber plane in the late 30’s. It entered it’s first service in 1939. It was delivered in two versions the SBD-1 which went to the Marine Corps and the SBD-2 that went to the Navy. The big moment for the Dauntless came in 1942 at the Battle Of Midway. By then the SBD-2’s had been phased out by the Navy for the new SBD-3’s. It was these that came into a pivotal role in the battle by sinking no less than four major Japanese aircraft carriers. Some SBD-2’s (as this kit pictures) had after their service in the Navy been handed over to the US Marine Corps that operated from the Midway islands. The Dauntless also saw service in the French air force and navy and in the Royal New Zeeland Air Force.
Critique courtesy of Plasticfantastique.com
This kit from Academy is a rebox of a kit from Accurate Miniatures. It has been released as SBD-1, SBD-2, SBD-3, SBD-4 and SBD-5 versions. For their release of a Midway Dauntless, Academy chose the SBD-2. Admittedly the only Medal of Honor at Midway was earned by a Dauntless pilot but it was the SBD-3’s that really earned their fame at Midway. So I was a bit disappointed when I bought this kit and then, afterwards, read the stories from Midway. I was almost going to omit this kit from my Battle Of Midway 75-years project. But then I read more about of how Richard E. Fleming earned his MoH and changed my mind. The kit looked so good out of the box so the only extras I bought was:
‘Douglas SBD-2/SBD-5 Dauntless (designed to be used with Academy and Eduard kits)’ self adhesive etched metal parts from Pmask product number 48084
The main feature of this is the cockpit. Almost half of the instruction sheet is about this. The approach is also a bit odd but works fine. It’s full of details and though they become a bit crude in this scale (as opposed to etched metal parts) I like it. The painting instructions are okay but if you have a steady hand, good magnifying possibilities and reference photos you can spend some time to enhance them even more. It all depends on your approach, as most of the details won’t be easily visible once you’ve closed the fuselage.
The cockpit walls are first and then the floor. Then almost immediately you close the fuselage without the cockpit floor. This is a bit unusual. You then mount most of the cockpit details from the underside before you glue the floor in place. First I thought that this was going to be a challenge but as all parts fits well it’s easier than it looks. It was only the rear gunners seat that was a bit hard to fit. But you have to use your intelligence as the instructions are not always clear on where the parts should fit.
Next are the wings. The lower part comes in one piece and the air brakes are separate. The wings fits well and the minimal gaps (if any) is easily fixed with fluid putty. I decided to leave the air brakes off until after the painting as they’re perforated and should be red on the inside and I didn’t want my air brushing spoil that. Why they have chosen to mould the tailplane in a upper and lower half is a good question. Maybe they wanted the kit to contain more parts but there could have been done as whole parts.
Next is the engine. The Wright Cyclone engine is done in three parts but well detailed. Even if the fine details is a bit thick it looks good. To have thinner and even more realistic details they would have had to resort to etched metal parts.
I’m warming up to the practice of pre shading my kits before painting so I did this again.
The Marines used the standard U.S. Navy colours of 1942 so I used the following colours from Vallejo?s Model Air series:
For the under surfaces I used 71.298 Light Gray (M495)
For the upper surfaces I used 71.109 Faded P.R.U Blue
I used paint masks for the national insignias, partly because I wanted the challenge but mostly because there are structural holes in the wings that no decals could handle in a nice way. This meant that I only used the sixes on the fuselage and a few small markings from the decal sheet. However these felt a bit stiff which made me think I did the right choice.
With the paint job and decals done I mounted the air brakes in closed position. The air brakes were not open on the ground. I omitted the detailing inside the closed brakes as it would not be visible anyway. The wheel axis does not fit the holes in the wheels which needs fixing. Still Academy (or rather Accurate Miniatures where this kit originates) have a splendid solution for the wheels. The hub caps are separate parts on both sides of the wheels which makes painting a breeze. Besides the tyres comes in two versions, one round for a flying plane and one a bit deflated for a plane standing on the ground.